How to send your documents to us using Google Drive
Lorem ipsum dolor sit amet, consectetur adipiscing elit. Ut elit tellus, luctus nec ullamcorper mattis, pulvinar dapibus leo.
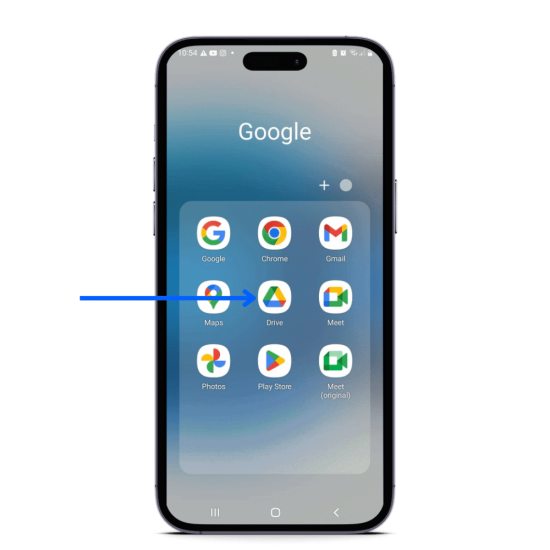
1. Open Google drive on your phone
The first step is to navigate to and open the Google Drive app on your phone. With Android devices this app comes pre-installed, however if you are an IOS user you will need to download this app from the App Store.


2. Select the Google account which you specified for use during sign-up
In the process of signing up for a plan, we require you to notify us of which Google account you prefer to use for your document uploads and deliveries. Click on the account section in the top right corner of your mobile device to choose the Drive account which you indicated.
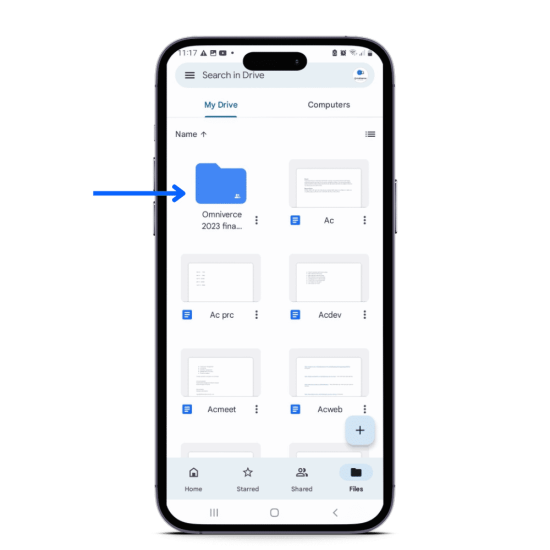
3. Select the shared folder we created which states your business name and the year
After you have chosen the account, you will find a folder created by us stating the name of your company and the current year. Click on this folder to open it and proceed to step four.


4. Select the month or months which you are uploading for
Step four is to choose the current month which you are uploading your receipts, invoices and bills for. If you have purchased a hostorical (catch up) plan, then you can select the months for which you need the catch up work done.
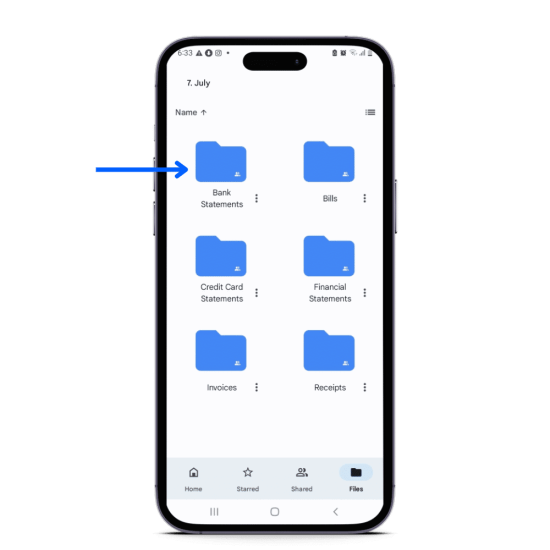
5. Select the appropriate document upload folder
After that, the next step is to choose the appropriate folder for the type of documents you are uploading. For example, we provide the folders labelled Bank statements, Credit card statements, Bills, Financial statements, Invoices, and Receipts.


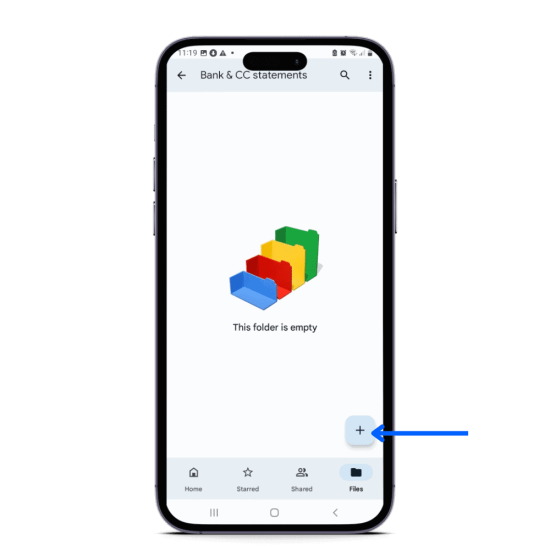
6. Select the *Plus Sign* at the bottom right of your mobile screen
After you have identified which documents you want to upload, open the folder and click on the plus icon at the bottom right of your screen. After you click this icon there will be six actions to choose from.
7. Scan and confirm your documents.
If you already have your files saved to your device you can select the ‘upload’ option and choose from your device gallery.
If you do not have to documents saved to your device, choose the ‘scan’ option which will lead to your mobile camera being engaged. Simply take a photo of your bills, receipts etc. and confirm that the image is good. Drive will then automatically scan the image and upload it, after which we will receive your document immediately.

8.Good job you're done! Sit back and relax, we'll take it from here
That’s it! Repeat this process for other files and document as necessary and we will do the rest.


